
How to Make Milk Kefir
Fermented foods are having a well-deserved moment, and one of the easiest and most beneficial to make at home is milk kefir. This tangy, probiotic-rich drink has been enjoyed for centuries and is packed with live cultures that can support gut health, digestion, and overall wellness. If you’ve been curious about how to make milk kefir from scratch, you’ll be happy to know it’s simple, requires only two ingredients—milk and kefir grains—and a few basic kitchen tools.
I started making milk kefir at the beginning of summer, and it quickly became a staple in my diet. I mostly use milk kefir in smoothies as a replacement for yogurt, and add in any frozen fruit I have on hand and some protein powder. It makes for a quick, gut-friendly breakfast if I am in a pinch.
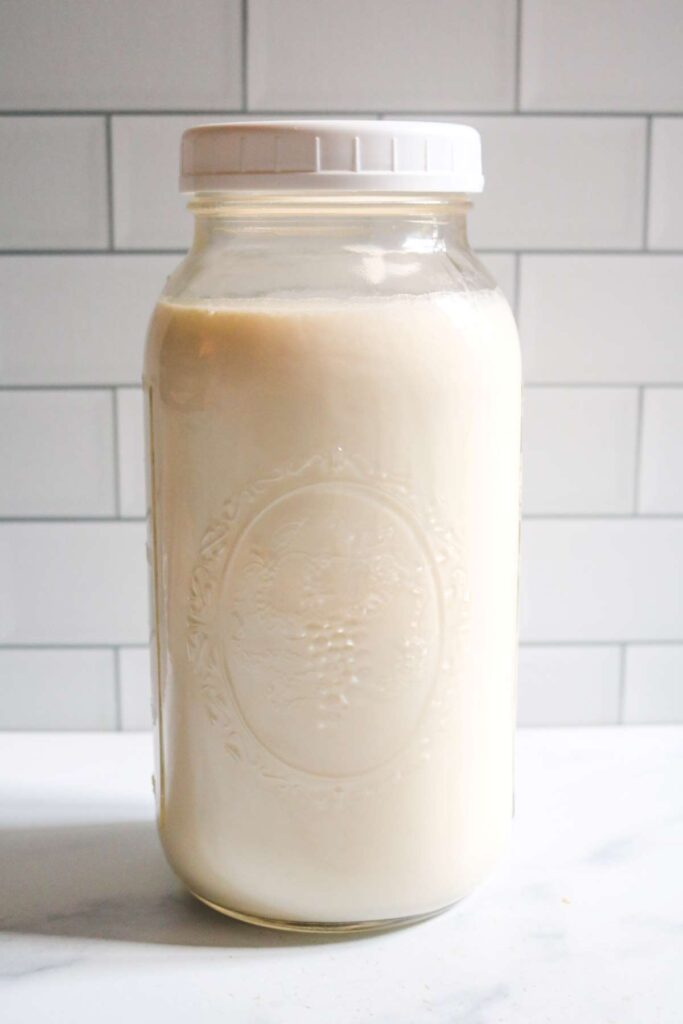
What is Milk Kefir?
Milk kefir is a fermented dairy drink made by combining milk with kefir grains, which are small, gelatinous clusters of bacteria and yeast. Despite the name, kefir grains are not actual grains like wheat or rice—they’re living colonies of beneficial microorganisms. When added to milk, these grains ferment the natural sugars (lactose), creating a slightly fizzy, tangy drink that’s full of probiotics, vitamins, and minerals.
Unlike yogurt, which contains a few strains of bacteria, milk kefir typically contains dozens of beneficial strains, making it one of the most probiotic-rich foods available.
Ingredients for Milk Kefir
- 4 cups (1 quart) of milk – You can use whole milk for the creamiest kefir, but 2% or even raw milk also works well. Avoid ultra-pasteurized milk, as it may not ferment properly. You can also use raw milk
- 1–2 tablespoons of active milk kefir grains – Cultures for Health has a good one, get some from a friend, or sometimes found at a natural food store.
Tools You’ll Need
Making kefir doesn’t require fancy equipment, but a few basics will make the process easier:
- Glass jar (quart-size) – Wide-mouth jars work best.
- Plastic or wooden spoon – To help move kefir through the mesh stainer.
- Breathable cover – A clean kitchen towel, paper towel, or coffee filter plus a rubber band.
- Mesh strainer – For separating the grains from the finished kefir.
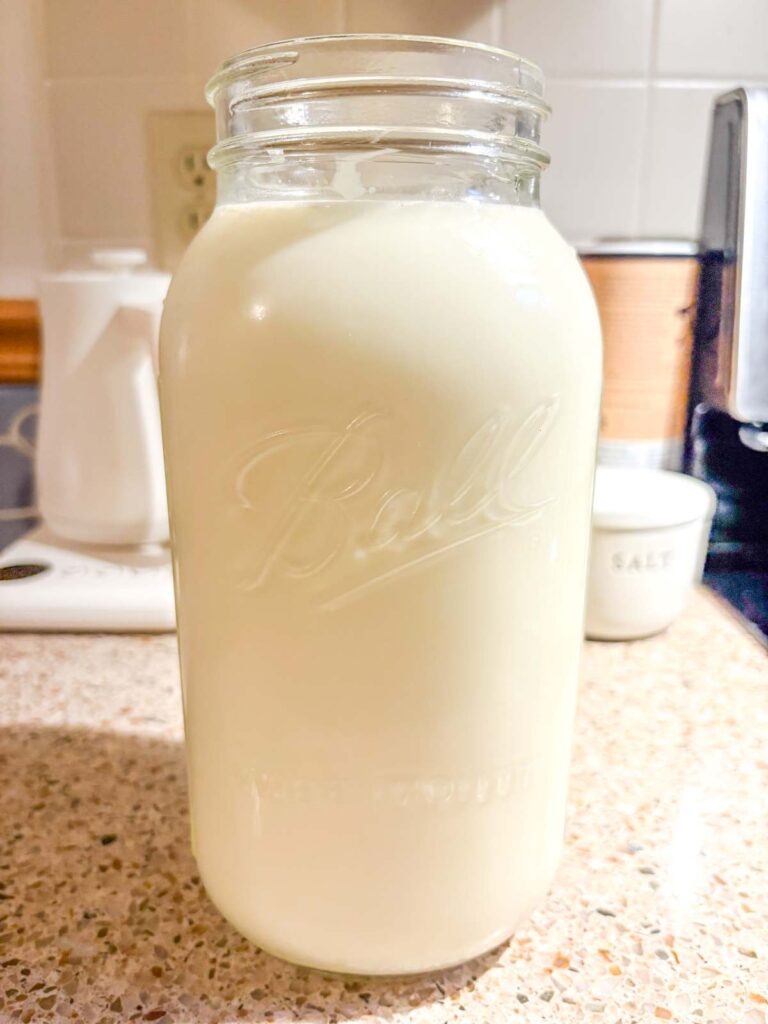
Instructions: How to Make Milk Kefir
Step 1: Combine the Ingredients
Place 1–2 tablespoons of kefir grains into a clean quart-sized glass jar. Pour 4 cups of milk over the grains. Stir gently with a non-metal spoon to distribute.
Step 2: Cover and Ferment
Cover the jar with a breathable cloth or paper towel secured with a rubber band. This allows airflow while keeping dust and insects out. Leave the jar at room temperature (65–75°F) to ferment.
Step 3: Wait and Watch
Fermentation usually takes 24 hours, but it can vary depending on the temperature of your home and the strength of your grains. The milk will thicken slightly and develop a tangy, sour flavor.
Step 4: Strain the Kefir
Once fermentation is complete, place a plastic mesh strainer over a clean bowl or jar. Pour the kefir through to catch the grains. Gently stir to help the liquid pass through. The strained liquid is your finished kefir, ready to drink!
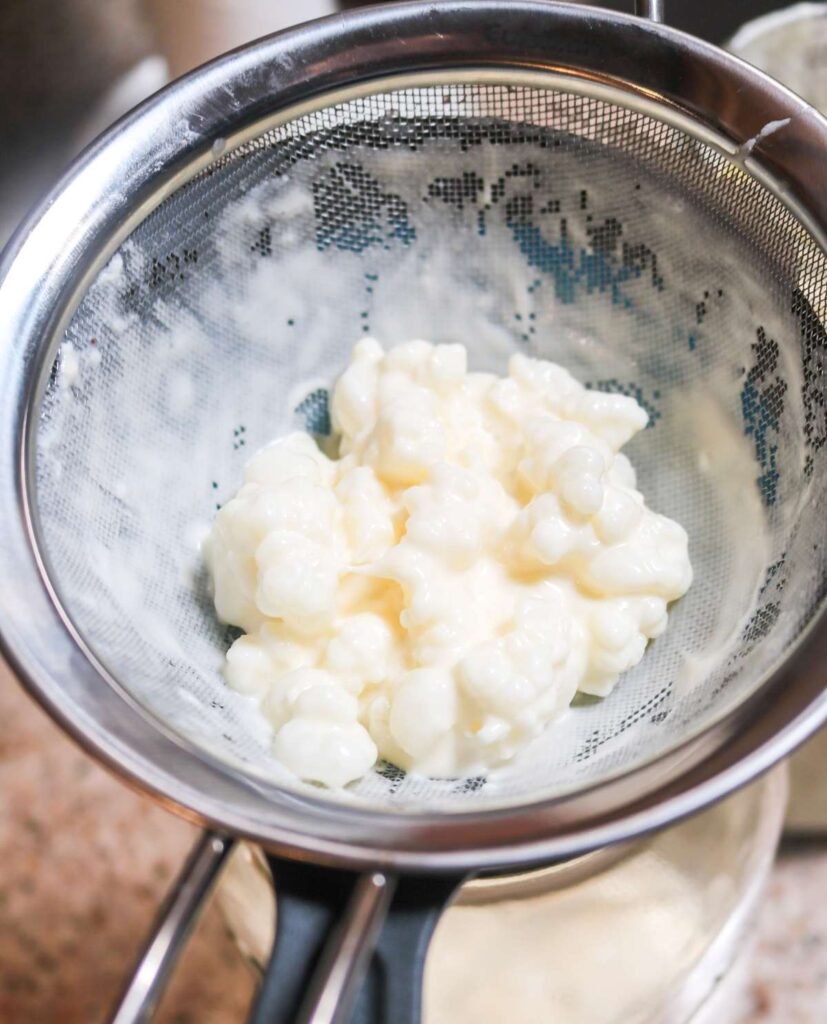
Step 5: Store and Repeat
Transfer the kefir to a jar, seal it with a lid, and store in the refrigerator for up to one week. Place the strained kefir grains into a new jar, add fresh milk, and repeat the process to keep making kefir indefinitely.
Tips for the Best Homemade Kefir
- Fermentation time: A shorter ferment (12–18 hours) yields a milder flavor, while a longer ferment (24–48 hours) creates a tangier, more probiotic-rich kefir.
- Temperature matters: Warmer rooms speed up fermentation, while cooler spaces slow it down.
- Milk choice: Whole milk produces creamier kefir. If using non-dairy milk like coconut or almond, you’ll need to occasionally refresh your grains in dairy milk to keep them healthy.
- Don’t use metal: It’s not recommended, but I have had no issues with using a stainless steel mesh stainer. They stay prolonged contact with metal strainers or spoons can harm kefir grains. But do what you think is best.
- Second fermentation: After straining, you can leave the kefir in a sealed jar at room temperature for another 12–24 hours. Add flavorings like fruit, vanilla, or cinnamon for delicious variations.
Frequently Asked Questions About Milk Kefir
1. How long does milk kefir last?
Freshly made milk kefir will keep in the refrigerator for about 5–7 days, although it’s safe to consume beyond that if it still smells and tastes pleasant.
2. Do kefir grains multiply?
Yes! With regular use, your kefir grains will grow and multiply. You can share extras with friends or store them in the fridge with a little milk.
3. Can I make kefir with raw milk?
Yes. I make mine with raw milk. The fermentation process works with pasteurized milk as well. Just avoid ultra-pasteurized varieties.
4. Is kefir lactose-free?
Kefir is low in lactose because the grains consume most of it during fermentation. Many people who are lactose-sensitive find kefir easier to digest than regular milk.
5. What if my kefir separates into curds and whey?
Separation is a sign of over-fermentation. Simply stir or blend it back together and shorten the fermentation time next round.
6. Do kefir grains ever “die”?
Yes, if neglected without fresh milk for too long. To keep them healthy, refresh grains regularly and avoid letting them dry out.
Creative Ways to Use Milk Kefir
Milk kefir is wonderfully versatile. Beyond drinking it straight, here are some delicious ways to use it:
- Smoothies – Blend kefir with fruit, protein powder, honey, or greens for a probiotic-rich breakfast.
- Salad dressings – Use it as a tangy base instead of buttermilk or yogurt.
- Baking – Substitute kefir for buttermilk in pancakes, muffins, or quick breads.
- Marinades – The acidity of kefir tenderizes meat, making it great for chicken or pork marinades.
- Frozen treats – Blend kefir with fruit and freeze for creamy popsicles.
- Dips and sauces – Mix with herbs and spices for ranch-style dips or tangy sauces.
Learning how to make kefir at home is an empowering step toward healthier, more natural living. With just milk and kefir grains, you can create a nourishing, probiotic-rich drink that supports digestion and boosts your immune system. Best of all, once you have healthy grains, you can continue making batch after batch—essentially giving you a never-ending supply of this ancient superfood.
Whether you enjoy it plain, in smoothies, or as part of your favorite recipes, milk kefir is a simple and affordable way to bring the benefits of fermentation into your daily routine.
Milk Kefir
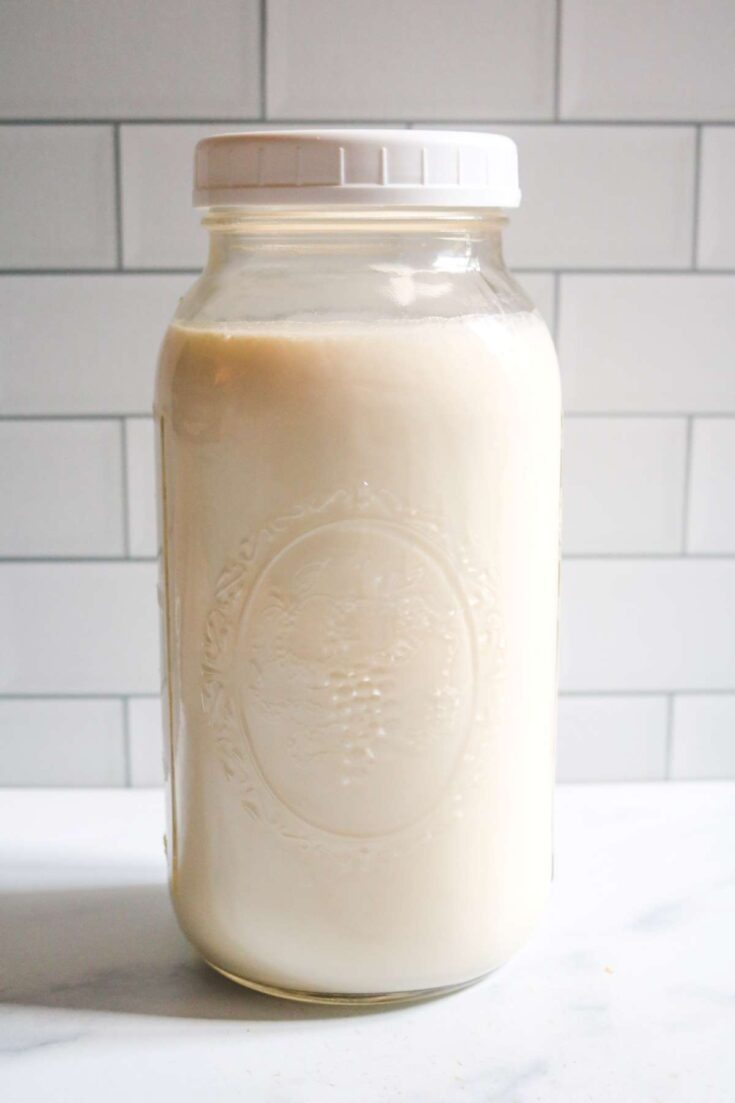
This tangy, probiotic-rich drink has been enjoyed for centuries and is packed with live cultures that can support gut health, digestion, and overall wellness.
Ingredients
- 1 quart milk
- 1-2 tablespoons milk kefir grains
Instructions
1. Place 1–2 tablespoons of kefir grains into a clean quart-sized glass jar. Pour 4 cups of milk over the grains. Stir gently with a non-metal spoon to distribute.
2. Cover the jar with a breathable cloth or paper towel secured with a rubber band. This allows airflow while keeping dust and insects out. Leave the jar at room temperature (65–75°F) to ferment.
3. Fermentation usually takes 24 hours, but it can vary depending on the temperature of your home and the strength of your grains. The milk will thicken slightly and develop a tangy, sour flavor.
4. Once fermentation is complete, place a plastic mesh strainer over a clean bowl or jar. Pour the kefir through to catch the grains. Gently stir to help the liquid pass through. The strained liquid is your finished kefir, ready to drink.
5. Transfer the kefir to a jar, seal it with a lid, and store it in the refrigerator for up to one week. Place the strained kefir grains into a new jar, add fresh milk, and repeat the process to keep making kefir indefinitely.
Notes
You can use store-bought or raw milk to make kefir. Just don't use ultra-pasturized milk.
